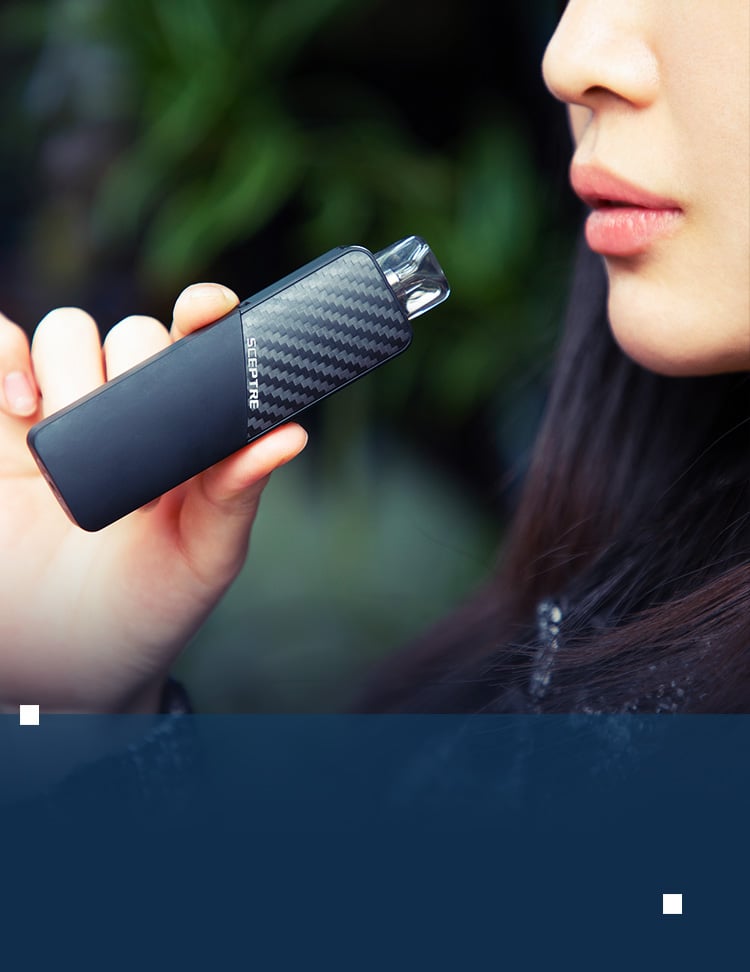
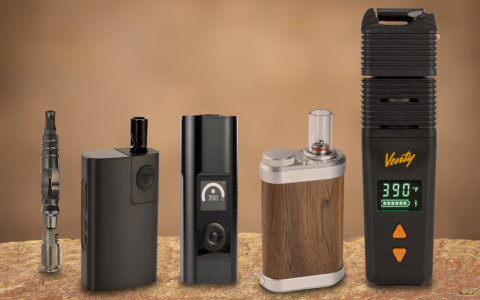
Optimizing your smart electronic cigarette requires precise setup and technique. Follow these steps for consistent performance and satisfaction.
Step 1: Device Initialization & Safety Check
Before first use: Fully charge the battery using the manufacturer-supplied cable. Install firmware updates if available. Inspect the device, tank, and pod for any damage or defects. Ensure coils are securely fitted.

Step 2: E-Liquid Preparation & Priming
Choose reputable e-liquid suitable for your device’s coil resistance (e.g., higher VG for sub-ohm). When installing a new coil:
- Saturate the wick ports and internal cotton directly with e-liquid.
- Fill the tank but do not exceed maximum capacity.
- Allow 10-15 minutes for full absorption.
Step 3: Configure Smart Settings
Use the device interface or companion app to select optimal settings:
- Power/Wattage Mode: Match to the coil’s specified wattage range (start low).
- Temperature Control Mode: Only for compatible coils; set material (Ni, Ti, SS) and desired temp.
- Airflow Control: Adjust ring based on preference – tighter for mouth-to-lung, open for direct-lung.
Step 4: Master Vaping Technique
Inhalation methods vary:
- Mouth-to-Lung (MTL): Draw vapor into mouth first (like a cigarette), then inhale.
- Direct-to-Lung (DTL): Inhale vapor directly into lungs with steady airflow.
Activate the device steadily, avoiding overly long puffs to prevent overheating.
Step 5: Maintain Device Health
Perform regular upkeep:
- Refill before the tank is empty to keep the wick saturated.
- Change coils when flavor diminishes or vapor production drops (typically every 1-4 weeks).
- Clean tank components (excluding coil) with warm water during coil changes. Dry thoroughly before reassembly.
- Clean battery contacts gently with a cotton swab if residue builds up.
Store upright in moderate temperatures away from direct sunlight.


