Okay, so, I had this Vaporesso Luxe, and let me tell you, it was a pretty sweet setup. But like anything, the coils don’t last forever. So, I figured I’d share how I went about changing them, ’cause it’s not rocket science, but a few tips might help someone out.
Gathering My Stuff
First things first, I made sure I had everything I needed within reach. I mean, who wants to run around mid-process, right? So, I grabbed:
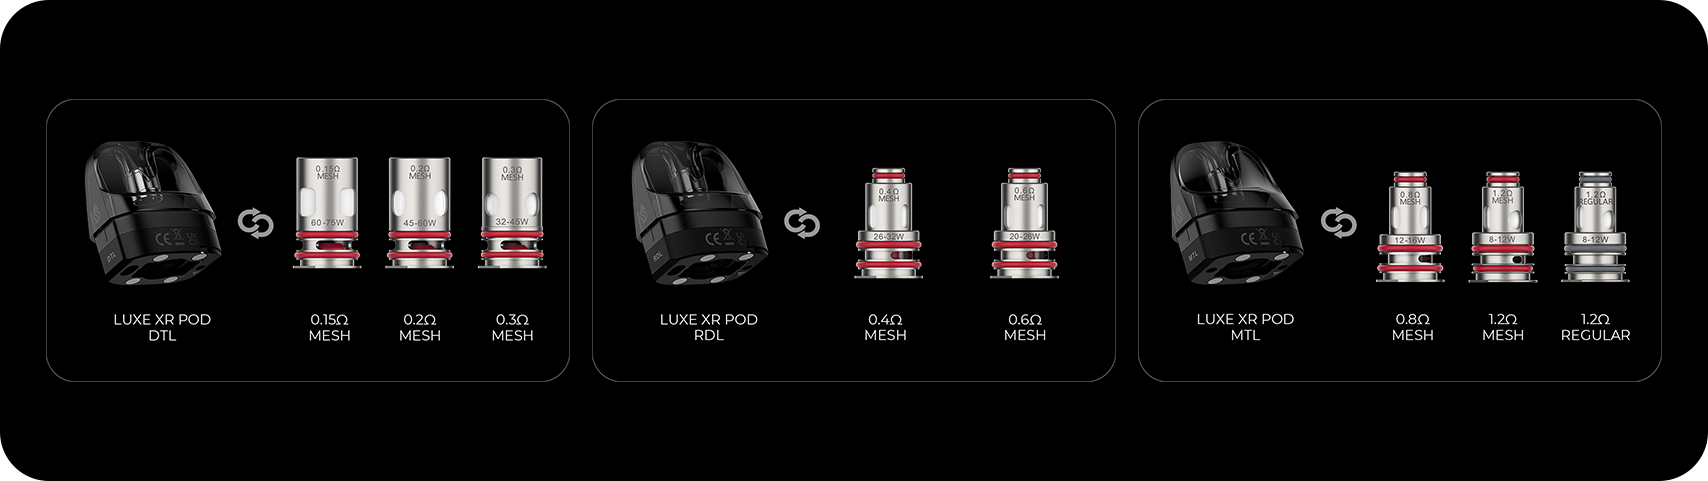
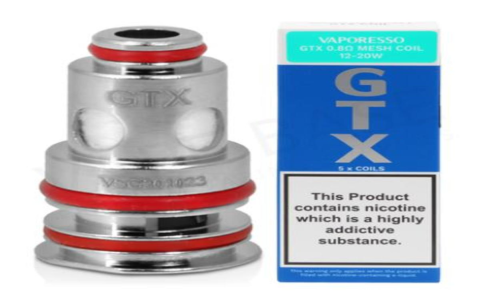
- New coils: You gotta have the right ones for your tank, so make sure you check that before you start. I keep a stash of them on hand, because I am not a big fan of running out.
- Paper towels: Things can get a bit messy with the e-juice and all that, so these are a lifesaver.
- The tank itself: Obviously, this is where the magic happens.
Taking It Apart
Alright, so with my gear all set, I unscrewed the tank from the mod. Then, I twisted off the bottom part of the tank – that’s where the coil lives. Some tanks might be a bit different, but for the Luxe, that’s how it goes. Just be careful not to spill any juice that’s still in there.
Out with the Old
Now, with the bottom off, I could see the old coil. I simply unscrewed it – lefty loosey, righty tighty, you know the drill. Once it’s out, I gave it a quick look. Sometimes you can tell it’s time for a change just by how gunky it looks. I tossed that old thing in the trash. Then I grabbed a paper towel and wiped down the inside of the base, just to get rid of any leftover e-juice or residue. Cleanliness is key, people!
In with the New
Time for the star of the show – the new coil! Before screwing it in, I did something that’s pretty important: priming. I used the dropper from the new bottle of ejuice to drip some juice directly onto the cotton inside the coil. I saturated all the visible cotton. This helps prevent dry hits when you first start vaping on a new coil. Nobody wants that burnt taste, trust me. After priming, I screwed the new coil into the base. Make sure it’s nice and snug, but don’t overtighten it. You don’t want to strip the threads.
Putting It Back Together
With the new coil in place, I screwed the base back onto the tank. Then, I filled up the tank with some fresh e-juice. I let it sit for a few minutes, just to make extra sure that the coil was fully saturated. Patience is a virtue, especially when it comes to vaping. I gave a couple of drags, and sure enough, smooth, flavorful vapor. Success!
So yeah, that’s how I change the coils on my Vaporesso Luxe. It’s a pretty straightforward process, and once you do it a couple of times, it becomes second nature. Just remember to prime that coil, and you’ll be good to go. Happy vaping, folks!


