Alright, folks, gather ’round. Today, I’m gonna walk you through my little adventure with changing the coils on my Aspire Nautilus vape tank. I’ve been using this thing for a while now, and it was time to swap out the old coil for a fresh one. I’m no expert, but I figured it out, and if I can do it, so can you.
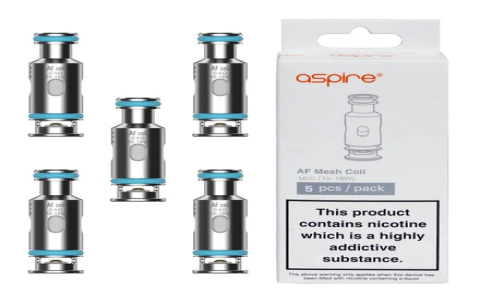
First off, I made sure I got the right coils. You gotta get the ones specifically for the Nautilus series. I picked up a pack of five from my local vape shop. They had different types, like 0.7ohm, 1.6ohm, and 1.8ohm. I’ve used the 1.8ohm ones before, and they’re pretty good, but this time I thought I’d try the 0.7ohm ones, just for kicks.

So, here’s how I went about it. I unscrewed the bottom part of the tank – that’s where the coil sits. The old coil was right there, looking all gunked up. I simply pulled it out. It might be a little snug, but it’ll come out with a little tug. Then, I took one of the new 0.7ohm coils, made sure it was the right one for the Nautilus, and popped it into the base. It slid right in, nice and easy. Make sure it is seated properly.
- Unscrewed the bottom.
- Pulled out the old coil.
- Popped in the new 0.7ohm coil.
Next, I screwed the bottom part back onto the tank. I filled up the tank with my favorite e-juice. Before I started vaping, I let it sit for a few minutes. This is important – you gotta let the e-juice soak into the coil, or you’ll get a nasty burnt taste. Nobody wants that.
After about 5-10 minutes, I took a few puffs. Worked like a charm! The flavor was much better, and the vapor production was great. I’m really digging these 0.7ohm coils. They give a bit more of a kick compared to the 1.8ohm ones. If you have a Nautilus tank, I definitely recommend giving them a try.
My Thoughts
Switching out coils is pretty straightforward, even if you’re not a vape guru. Just make sure you get the right coils, and don’t forget to let the new coil soak up the juice before you start vaping. It makes all the difference. Happy vaping, everyone!


