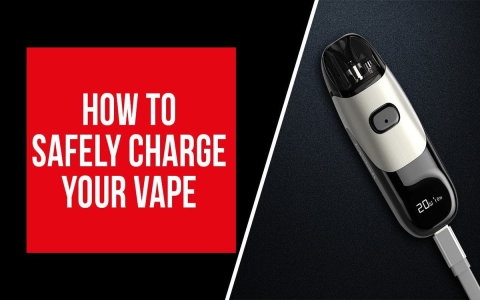
Alright, let me tell you about this little project I tackled the other day – making a battery charger for my e-cigarette. I mean, those things run out of juice at the worst times, right? And buying a new charger every time felt like a waste of money. So, I thought, why not just make one myself?
First off, I gathered all the stuff I needed. I dug out an old USB cable I had lying around, the kind you use for charging phones and stuff. Then, I needed a connector that would fit into my e-cig’s charging port. I found a broken e-cig charger and carefully removed the connector from it. This part was crucial, of course, because it’s what connects to the battery. After that, I grabbed my wire strippers, some electrical tape, and a soldering iron. Yeah, I had to do a bit of soldering, but don’t worry, it wasn’t rocket science.
So, I started by cutting off the end of the USB cable that you’d normally plug into your computer. This left me with the wires exposed. Most USB cables have four wires inside – red, black, white, and green. I only needed the red one, which is for power, and the black one, which is the ground. I stripped a little bit of the plastic off the ends of those two wires to expose the metal inside. I kept the white and green wires out of the way, not going to use them for this.
Next, I took the connector I got from the old charger. It had two wires coming out of it, which I assumed were also positive and negative. I connected the red wire from the USB cable to the positive wire on the connector, and the black wire to the negative. I soldered these connections to make sure they were solid. This involved heating up the wires with the soldering iron and melting a bit of solder onto them to make a strong bond. After the solder cooled down and hardened, I wrapped each connection with electrical tape to prevent any short circuits. Safety first, you know?
Testing Time!
- I plugged the USB end of my new cable into a USB power adapter.
- Then, I connected the other end to my e-cigarette.
- And guess what? The charging light on my e-cig turned on!
It actually worked! I was pretty stoked. I monitored it for a while to make sure nothing got too hot or anything, and it all seemed good. Now, I have a homemade charger that works just fine, and I didn’t have to spend extra cash on a new one. Plus, I got to recycle some old parts, which is always a good thing. It was a fun little DIY project, and it saved me some money in the long run. If you’re a bit handy and have an e-cig, maybe you can give this a try too! Just be careful with the soldering iron, and always double-check your connections.


